Table of Contents
- Introduction to Tile Problems in Singapore Homes
- Why Do Tile Problems Happen?
- Cracked Tiles: Causes and Solutions
- Hollow Tiles: Signs, Causes and Repairs
- Loose or Lifting Tiles
- Tile Stains and Discolouration
- Grout Problems and How to Maintain Them
- Water Seepage and Moisture Issues
- Uneven Tile Surfaces
- Chipped and Damaged Tile Edges
- Tile Repair vs Tile Replacement: Which Is Better?
- How to Prevent Tile Problems
- Choosing a Tile Repair Contractor in Singapore
- Conclusion
Introduction to Tile Problems in Singapore Homes
Tiles are one of the most commonly used materials by renovation contractor in Singapore homes because they are durable, easy to clean, and suitable for the local climate.
They are widely installed in:
- Living rooms
- Kitchens
- Bathrooms
- Bedrooms
- Balconies
- Outdoor areas
When properly installed and maintained, quality tiles can last for many years. However, homeowners may eventually notice issues such as:
- Cracked tiles
- Hollow sounds
- Loose tiles
- Stained grout
- Water seepage
- Uneven surfaces
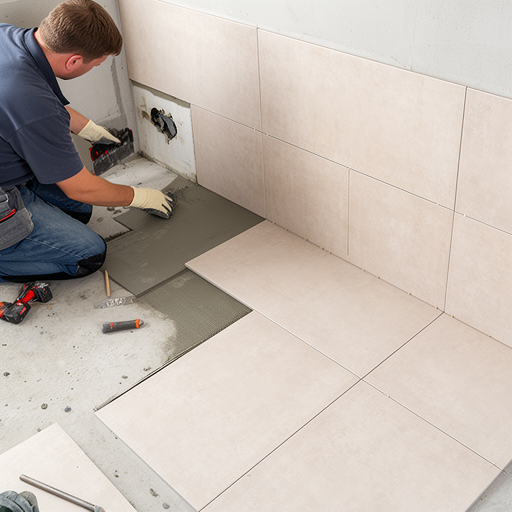
These problems can affect both the appearance and safety of your home.
Understanding common tile repair Singapore issues helps homeowners identify problems early and prevent more expensive repairs in the future.
This guide explains the most common tile problems found in Singapore homes, their causes, and the best solutions. To fix it professionally, kindly contact tiling contractors near you.
Why Do Tile Problems Happen?
Tile issues usually occur because of several factors, including:
- Poor installation
- Ageing materials
- Moisture exposure
- Building movement
- Heavy usage
- Incorrect maintenance
Tiles themselves are usually strong, but the entire flooring system depends on:
- Base preparation
- Adhesive quality
- Grouting
- Waterproofing
- Workmanship
A problem with any part of the system can affect tile performance.
Cracked Tiles: Causes and Solutions
Cracked tiles are one of the most noticeable tile problems homeowners experience.
A cracked tile may appear as:
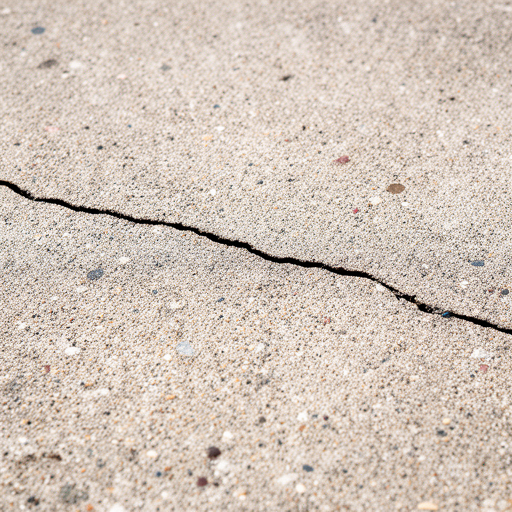
- Small hairline cracks
- Large visible fractures
- Broken corners
Common Causes of Cracked Tiles
1. Impact Damage
Heavy objects falling on tiles can cause cracks.
Examples include:
- Dropping furniture
- Heavy items hitting the floor
2. Poor Installation
Incorrect installation may cause stress on tiles.
Problems include:
- Uneven base surface
- Poor adhesive coverage
- Incorrect tile placement
Over time, pressure may cause cracking.
3. Movement Underneath the Tile
Tiles require a stable surface.
Movement caused by:
- Floor shifting
- Poor substrate preparation
can create cracks.
4. Temperature Changes
Materials expand and contract with temperature changes.
Without proper installation techniques, stress may build up.
How to Fix Cracked Tiles
For small cracks, repair products may sometimes help temporarily.
However, for visible or structural cracks, the better solution is usually:
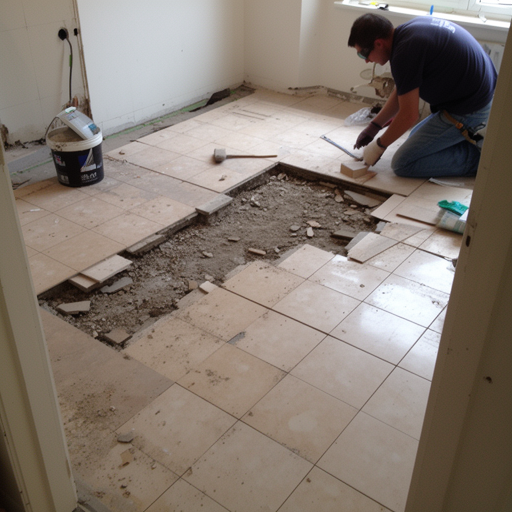
- Removing the damaged tile
- Preparing the surface
- Installing a replacement tile
Replacing only the damaged tile helps maintain the appearance of the floor.
Hollow Tiles: Signs, Causes and Repairs
Hollow tiles are a common issue in Singapore homes.
A hollow tile produces a different sound when tapped compared with surrounding tiles.
Signs of Hollow Tiles
Look out for:
- Hollow sounds when walking
- Tiles moving slightly
- Cracks appearing around tile edges
Causes of Hollow Tiles
Poor Adhesive Coverage
If adhesive does not fully cover the tile surface, empty spaces can form underneath.
Improper Installation
Incorrect installation methods may prevent proper bonding.
Natural Ageing
Over time, materials may weaken and reduce bonding strength.
How to Repair Hollow Tiles
Solutions depend on the severity.
Options include:
Adhesive Injection
Some repair methods inject adhesive underneath the tile.
Suitable for certain situations.
Tile Replacement
For badly affected areas, replacement may provide a longer-lasting solution.
Loose or Lifting Tiles
Loose tiles can become a safety issue if they move or lift.
This problem is more common in:
- Older homes
- High-use areas
Causes of Loose Tiles
Common causes include:
- Weak adhesive bonding
- Moisture problems
- Poor surface preparation
How to Fix Loose Tiles
The repair process usually involves:
- Removing the loose tile
- Cleaning the surface
- Applying new adhesive
- Reinstalling the tile
If multiple tiles are affected, further inspection may be needed.
Tile Stains and Discolouration
Tiles can become stained over time, especially in areas exposed to:
- Water
- Cooking activities
- Dirt
- Cleaning products
Common areas include:
- Kitchen floors
- Bathroom walls
- Shower areas
Common Causes of Tile Stains
Dirt Build-Up
Regular foot traffic can leave:
- Dust
- Oil
- Dirt marks
Hard Water Deposits
Bathrooms may develop white marks caused by mineral deposits.
Incorrect Cleaning Products
Strong chemicals may damage some tile surfaces.
How to Remove Tile Stains
Solutions include:
- Regular cleaning
- Suitable tile cleaners
- Professional cleaning methods
For stubborn stains, surface treatment may be required.
Grout Problems and How to Maintain Them
Grout fills the spaces between tiles.
Although small, grout plays an important role.
Common Grout Issues
Dirty Grout
Grout can collect:
- Dust
- Soap residue
- Moisture
Cracked Grout
Cracks may allow water to enter gaps.
Missing Grout
Missing sections can affect both appearance and protection.
How to Fix Grout Problems
Repairs may include:
- Cleaning existing grout
- Removing damaged grout
- Applying new grout
For bathrooms, proper grout maintenance helps reduce moisture problems.
Water Seepage and Moisture Issues
Water-related tile problems are common in Singapore bathrooms and wet areas.
Signs include:
- Damp patches
- Loose tiles
- Darkened grout
- Water stains
Causes of Water Seepage
Damaged Waterproofing
Bathrooms depend on waterproofing layers beneath tiles.
If waterproofing fails, moisture may enter surrounding areas.
Cracked Grout Lines
Damaged grout can allow water penetration.
Poor Drainage
Standing water increases moisture exposure.
How to Fix Water Problems
The solution depends on severity.
Possible repairs include:
- Replacing grout
- Repairing affected tiles
- Reapplying waterproofing
Major issues may require more extensive renovation work.
Uneven Tile Surfaces
Uneven tiles can affect both appearance and comfort.
Signs include:
- Tiles not aligned
- Uneven walking surfaces
- Visible height differences
Causes
Possible causes include:
- Poor installation
- Uneven base preparation
- Incorrect tile placement
Repair Options
Minor issues may be adjusted.
For major uneven flooring, removing and reinstalling affected areas may be necessary.
Chipped and Damaged Tile Edges
Tile edges may chip due to:
- Impact
- Furniture movement
- Installation problems
Common locations include:
- Corners
- Doorways
- High-use areas
Repair Methods
Depending on damage:
- Minor chips can be repaired
- Severe damage may require tile replacement
Tile Repair vs Tile Replacement: Which Is Better?
Homeowners often ask whether they should repair or replace damaged tiles.
The answer depends on the condition.
Choose Repair When:
Repair may be suitable for:
- Minor stains
- Small grout issues
- Small surface damage
Advantages:
- Lower cost
- Faster completion
Choose Replacement When:
Replacement is better for:
- Cracked tiles
- Loose tiles
- Severe damage
Advantages:
- Longer-lasting solution
- Better appearance
How to Prevent Tile Problems
Proper care can extend tile lifespan.
Choose Quality Installation
Good workmanship prevents many problems.
Important factors include:
- Proper preparation
- Correct adhesive use
- Accurate installation
Clean Regularly
Regular cleaning prevents:
- Dirt accumulation
- Grout staining
Avoid Harsh Chemicals
Some chemicals may damage:
- Tile surfaces
- Grout materials
Fix Small Problems Early
Do not ignore:
- Loose tiles
- Cracks
- Water signs
Small issues can become bigger repair problems.
Choosing a Tile Repair Contractor in Singapore
When selecting a contractor, consider:
Experience
Look for experience with:
- Tile repairs
- Replacement works
- Renovation projects
Proper Assessment
A good contractor should inspect the problem before recommending repairs.
Clear Pricing
The quotation should explain:
- Repair method
- Materials used
- Labour costs
Quality Materials
Using suitable replacement tiles and repair materials improves results.
Conclusion
Tile problems are common in Singapore homes, but many issues can be prevented with proper installation and maintenance.
Problems such as cracked tiles, hollow tiles, grout damage, and water seepage should be addressed early to avoid larger renovation costs.
Whether you need minor repairs or full tile replacement, choosing a professional tile repair Singapore service helps restore your home’s appearance and functionality.
With regular maintenance and proper care, your tiles can remain durable, safe, and attractive for many years.